|
|---|
| Home | Gallery | Tutorials | Equipment | About |
|---|
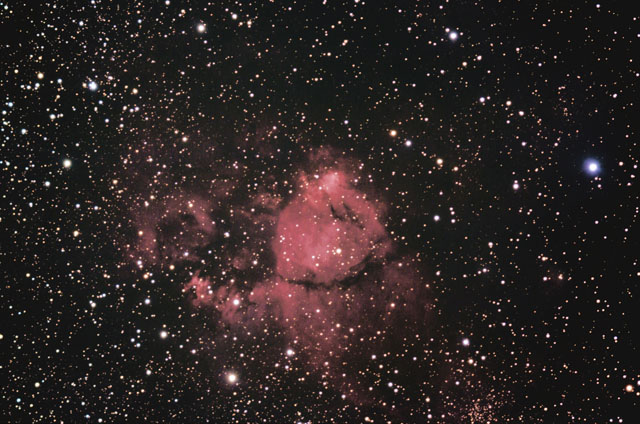
How to Remove Stars from an Image using Photoshop CS3
First, create a duplicate image for a later use. Using Noel Carboni's tools, play the action, "Select brighter stars." Then, in the header choose "Select" >"Modify"> "Expand" 10 pixels. Then, "Select"(again) > "Modify"-"Feather" 5 pixels.
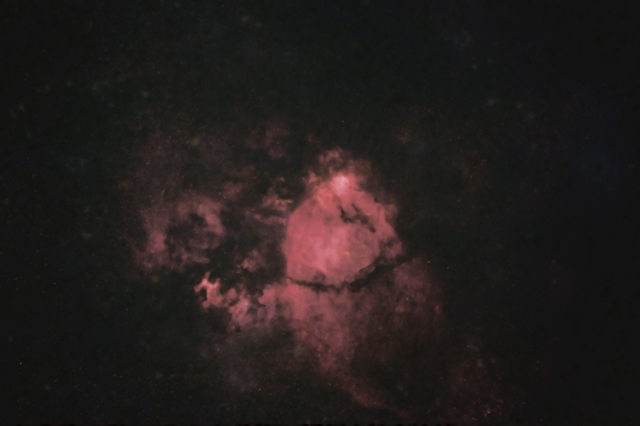
This is a really cool effect and can be useful if you are just wanting an image without stars distracting form the nebula, or it gives you the means to work on processing just the nebulosity in the image.
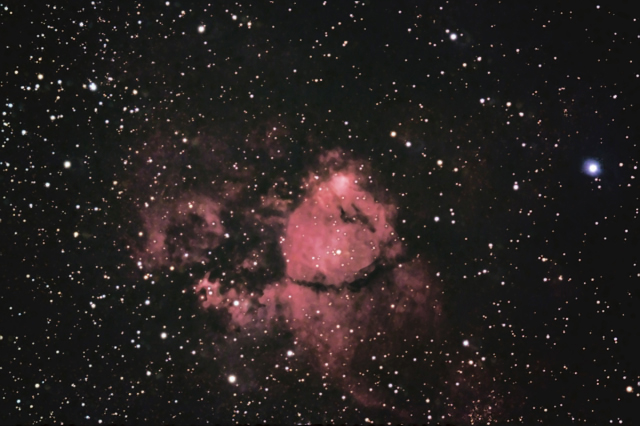
To put the stars back into the image. Open the duplicate image you made in the beginning. Using Noel Carboni's tools, play the action, "Select brighter stars." Then simply click "edit">"copy." Now go back to your "nebulous" image and click "edit">"paste."
You may have to play with "expand" and "feather" to get the settings right so that the stars will blend back into the image. Also note, you may lose a few of the fainter stars. Still, this is something fun to do on those cloudy, windy, rainy, cold, snowy nights.
|
|---|
| Home | Gallery | Tutorials | Equipment | About |
|---|
| Copyright 2010 All Rights Reserved |
|---|